GonzoFX Deep Dive
Yesterday’s weirdness is tomorrow’s reason why.
A Deeper Look Into the GonzoFX Actor:
From the Core:
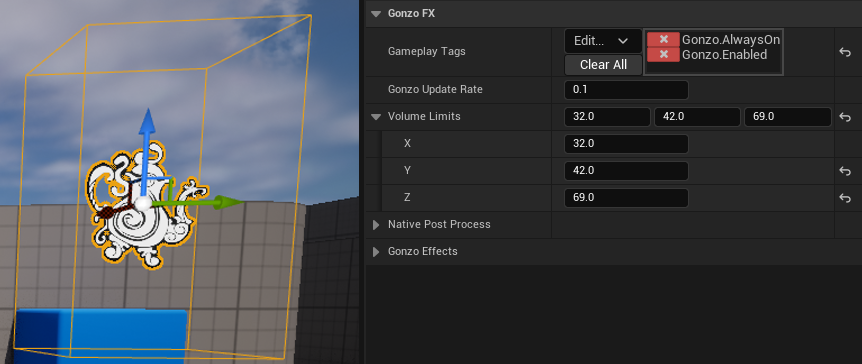
- Gameplay Tags
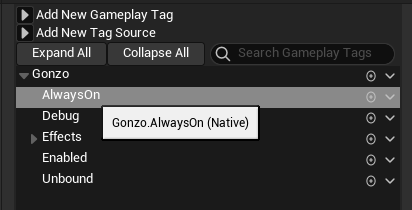
GonzoFX utilizes Gameplay Tags to drive the main settings, and which effects it should apply. The Gameplay Tags utilized by GonzoFX are Native Gameplay Tags. Since they are all setup natively in C++, they will just showup in your project settings without needing to load any data tables or .ini’s.
The main GonzoFX control setting tags are:
- Gonzo.AlwaysOn - This is enabled by default. When enabled, GonzoFX will use a looping timer to check for tag and setting changes.
- Gonzo.Debug - This is disabled by default. When enabled, GonzoFX will display various messages when functions are run, and effects applied.
- Gonzo.Enabled - This is enabled by default. With this tag, GonzoFX can be easily turned on and off.
- Gonzo.Unbound - This is enabled by default. When enabled, GonzoFX post process effects will not be bound by the bounding box that is native to the actor. When disabled, GonzoFX post process effects will be confined to the limits of the bounding box.
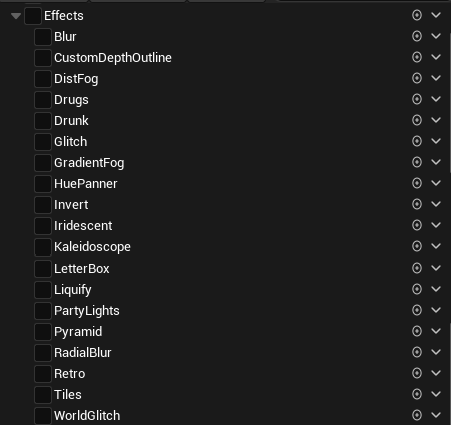
The Gonzo.Effects tags are what will determine which post process effects to apply.
- Gonzo Update Rate
GonzoFX utilizes a timer, specifically FTimerManager::SetTimer, to have a looping timer that will always be checking for updates. This setting determines how often the GonzoUpdate event will execute, to check for any effect and setting changes. The higher the value, the slower the GonzoUpdate event will execute. Default value of 0.1 gives as close to tick as needed. This setting will have no impact if Gonzo.AlwaysOn has been removed.
This is chosen over using tick to have an always on type of actor as it is designed to have more than one instance running. There is a chance that I might move this all over to its own async task, but with the option of being able to disable the timer and control this manually, the actor is already very performant.
- Volume Limits
GonzoFX, by default, will have the Gonzo.Unbound tag applied, making it a global post process effect. With this tag, this setting will have no impact. If the Gonzo.Unbound tag is removed, then this setting will determine the bounding box limits making it a local post process effect when the camera is within the Volume Limits.
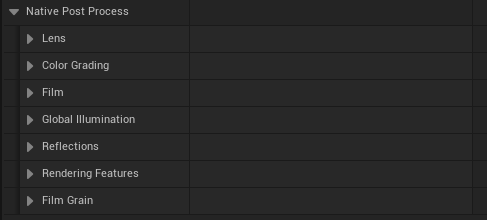
- Native Post Process
GonzoFX exposes access to the native post process settings via the struct FPostProcessSettings. I am not going to detail what each individual setting does, as these are native to the engine, but have been exposed for expanding the capabilities of GonzoFX and allow for further user customization of effects. For more details you can look at the Unreal documentation for FPostProcessSettings.
- Gonzo Effects
GonzoFX’s main purpose is to provide custom post process effects. These are the individual settings for each effect that can be applied to a GonzoFX actor by applying the corresponding tag from Gonzo.Effects. These will be detailed further in the section below.


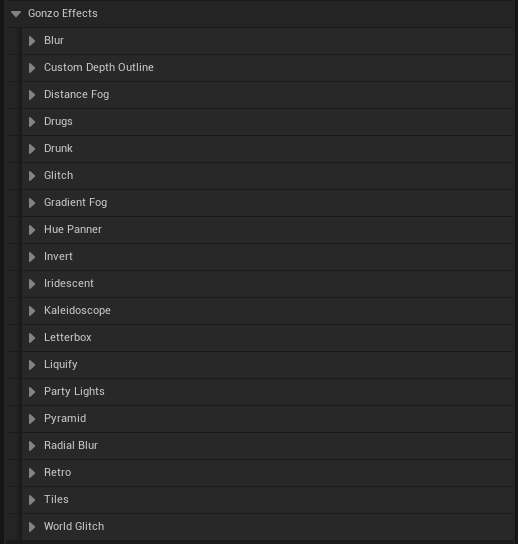
Gonzo Effects:
- Blur
Adding the tag Gonzo.Effects.Blur will apply a standard Blur effect. It has the following settings available.
- Blur Samples - This will control how many samples are applied to the Blur effect. The higher the value, the blurrier the image will be.
- Blur Amount - This will control the scale at which the blur is applied to the screen, and is part of the HLSL used for the Blur material. The higher the value, the more the Blur will scale across the screen.
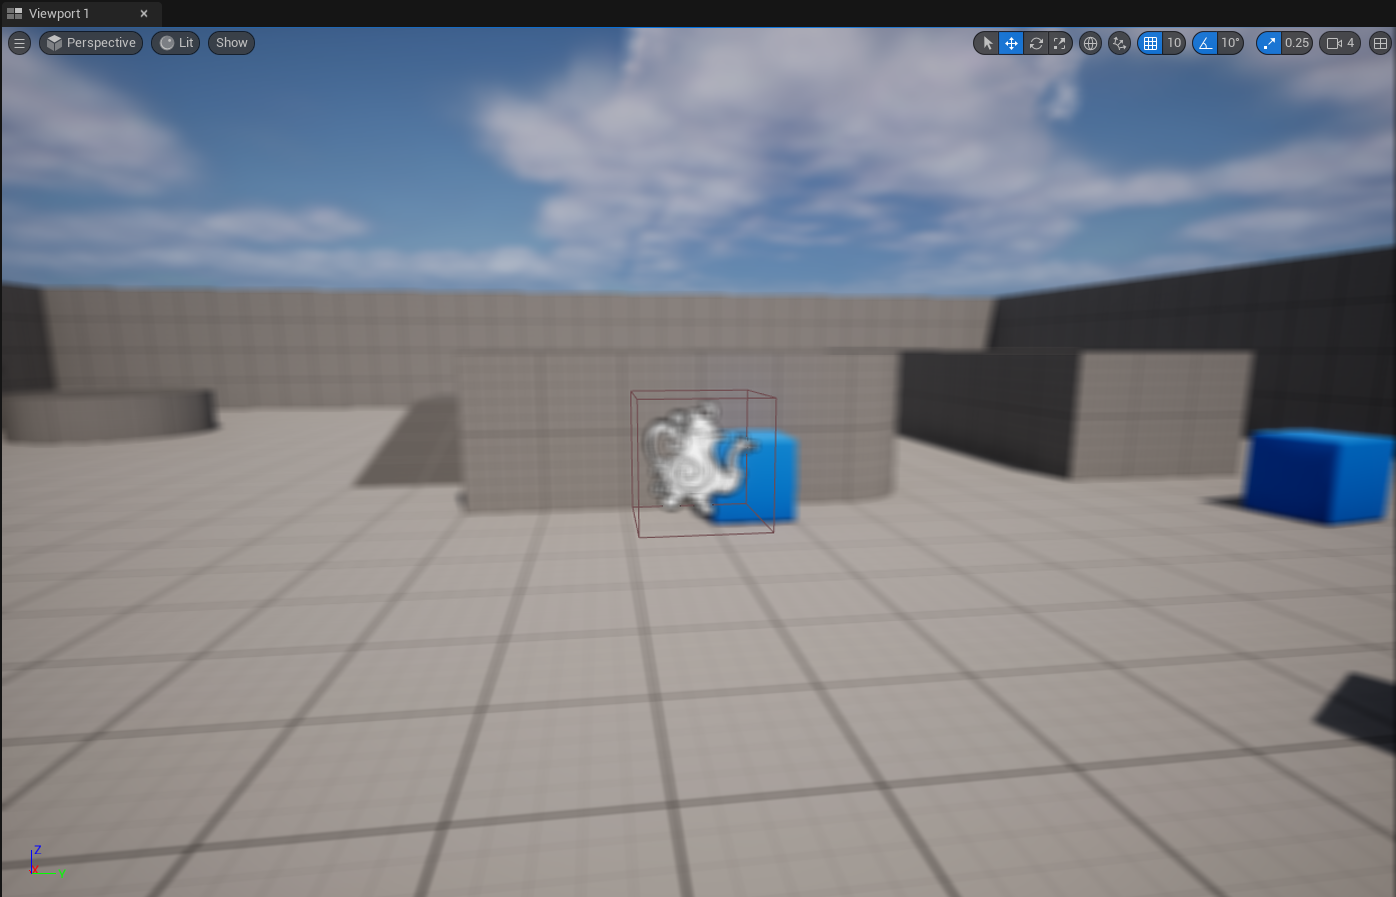
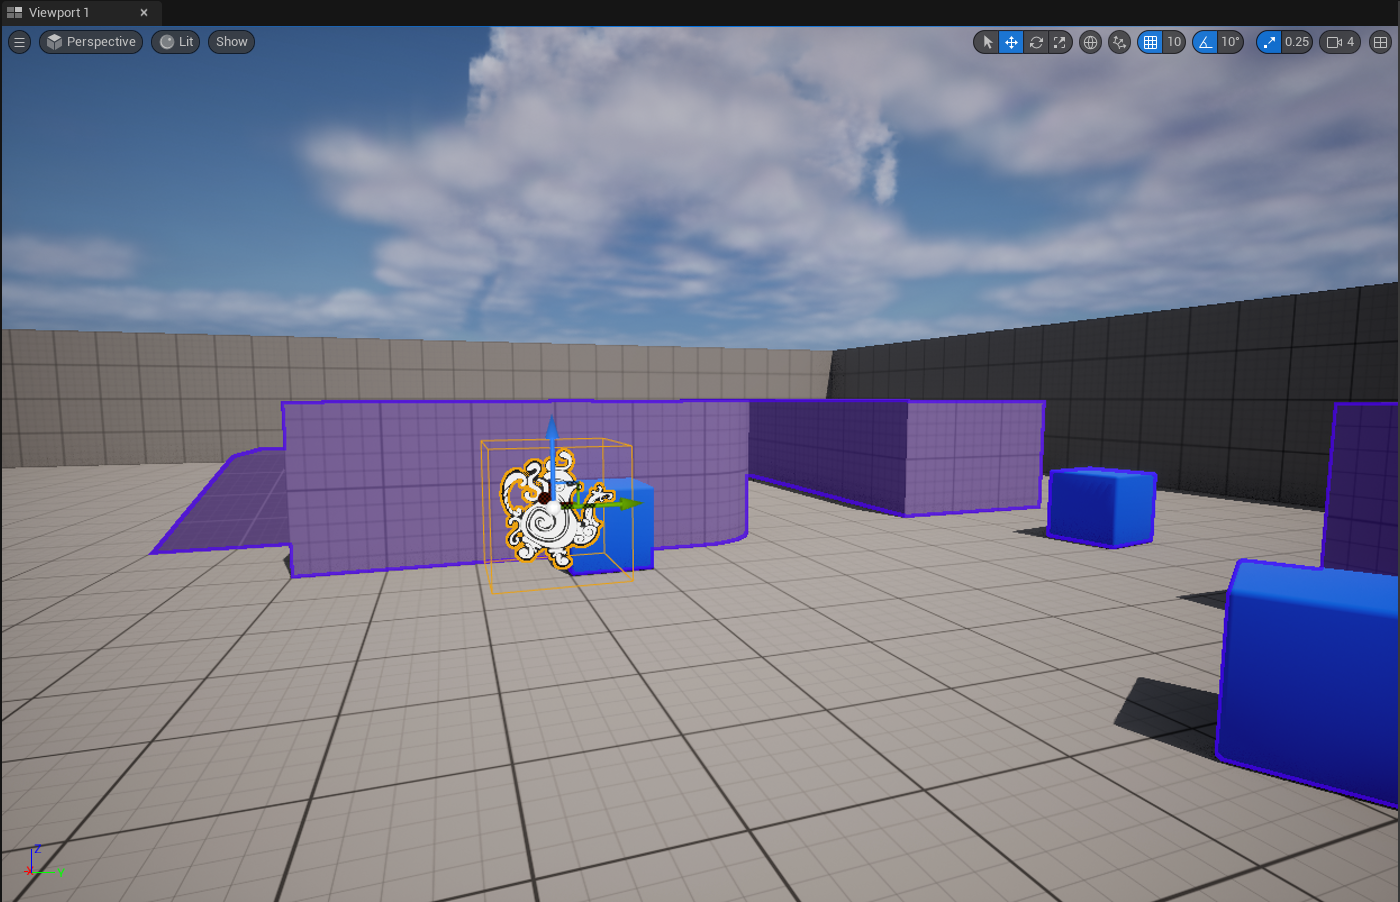
- Custom Depth Outline
Adding the tag Gonzo.Effects.CustomDepthOutline will apply a depth outline effect to any actor with Render CustomDepth Pass enabled (checked). It has the following settings available.
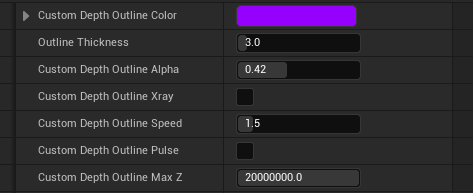
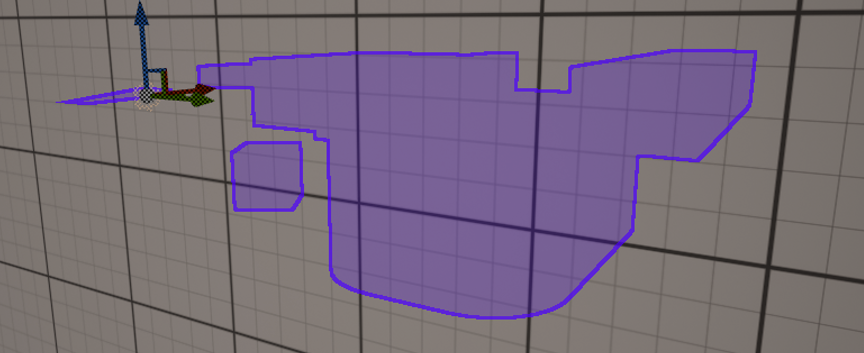
- Custom Depth Outline Color - This will control the color of the outline applied to the actors.
- Outline Thickness - This will control how thick the outline edge is. The higher the value the thicker the outline edge. Setting to 0 will remove the outline edge.
- Custom Depth Outline Alpha - This will control the opacity for the outline effect. The higher the value the more intense the effect will be, with it blending into the outline edge.
- Custom Depth Outline Xray - This will control if the effect can be seen even if the actor is obfuscated by another actor (behind walls).
- Custom Depth Outline Speed - This will control the rate at which the animation will play if Custom Depth Outline Pulse is enabled (checked). The higher the value the slower the pulse.
- Custom Depth Outline Pulse - This will control if the pulse animation is played on the custom depth outline material.
- Custom Depth Outline Max Z - This will control the max distance the effect will be rendered. The lower the value the closer the limit will be towards the camera.
- Distance Fog
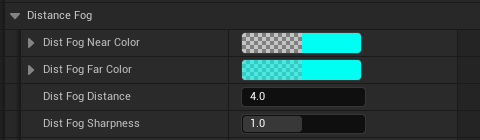
Adding the tag Gonzo.Effects.DistFog will apply a distance fog effect. It has the following settings available.
- Dist Fog Near Color - This will control the color of the fog closest to the camera.
- Dist Fog Far Color - This will control the color of the fog farthest from the camera.
- Dist Fog Distance - This will control how close the fog is to the camera. The higher the value the further out the fog will be.
- Dist Fog Sharpness - This will control the sharpness between the near and far fogs.The lower the value the more the Dist Fog Far Color will take over.
- Drugs
Adding the tag Gonzo.Effects.Drugs will apply a drug like effect. It has the following settings available.
- Drugs Speed - This will control the rate at which the drugs effect will play. The higher the value the faster the effect will play.
- Drunk
Adding the tag Gonzo.Effects.Drunk will apply a drunk like effect. It has the following settings available.
- Drunk Speed - This will control the rate at which the drunk effect will play. The higher the value the faster the effect will play.
- Drunk Offset - This will control how much the image is offset during the animation. The higher the positive or lower the negative the larger the offset.
- Glitch
Adding the tag Gonzo.Effects.Glitch will apply a glitchy effect. It has the following settings available.
- Glitch Speed - This will control the rate at which the glitch effect will play. The higher the value the faster the effect will play.
- Glitch Density - This will control how tight the wavy effect is on the edges of the glitches. The higher the value the tighter and smaller the waves will be.
- Glitch Blocking - This will control how glitchy the image is. The higher the value will cause larger glitch blocks.
- Glitch Grid Distort Pow - This will control the overall fuzziness of the glitch. The higher the value the fuzzier the grid distortion will be.
- Glitch Grid Distort Size - This will control the size of the grid distortion. The lower the value the larger the pixel like effect will be.
- Glitch Grid Distort Speed - This will control the rate at which the grid distortion will play. The higher the value the faster gird distortion will shift.
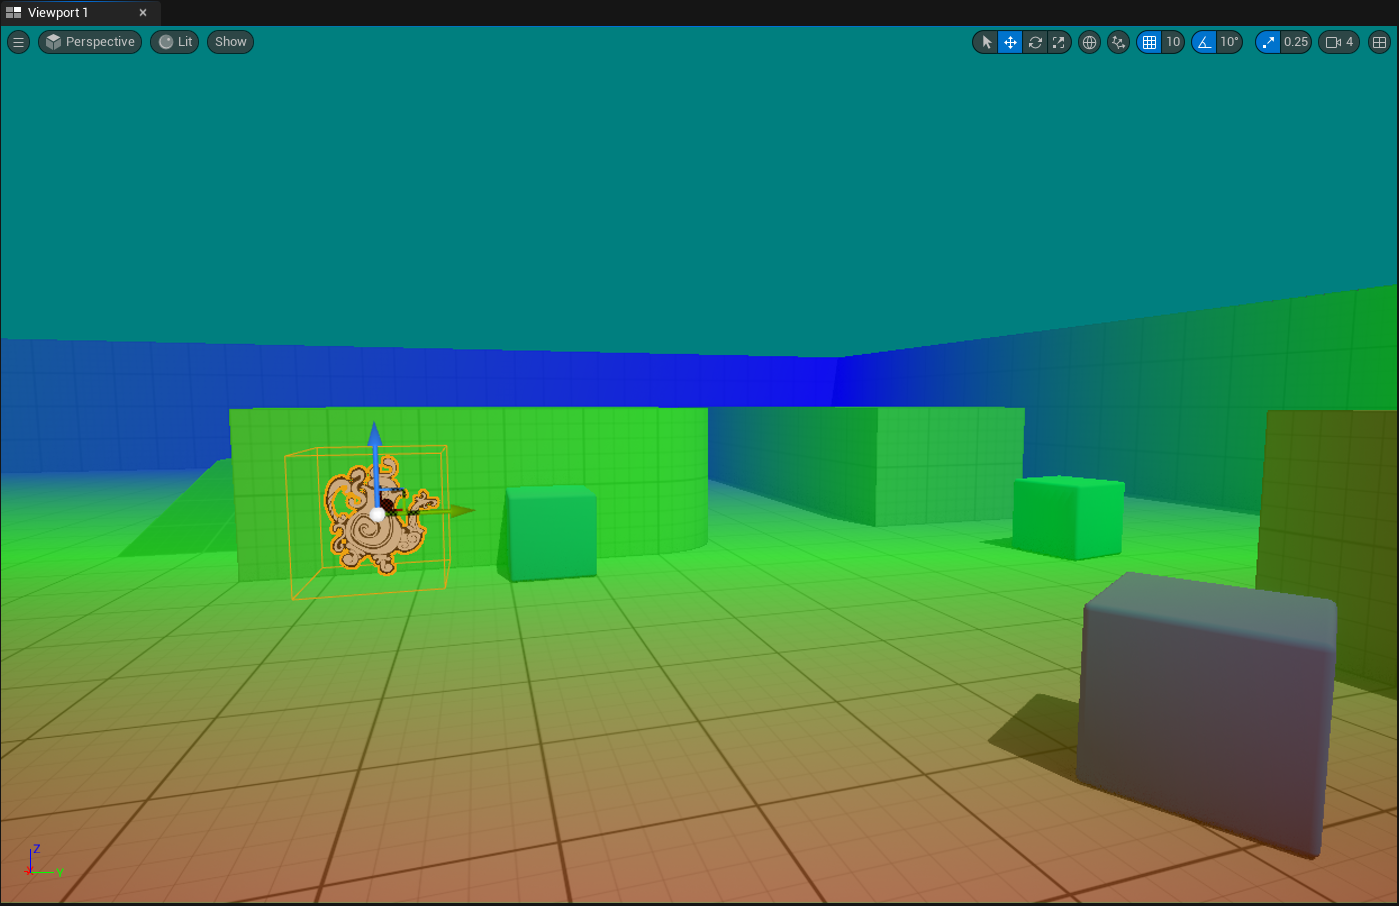
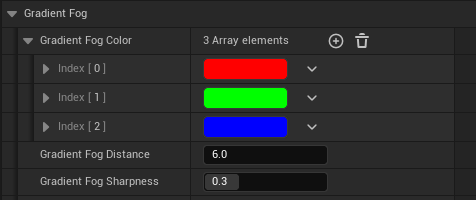
- Gradient Fog
Adding the tag Gonzo.Effects.GradientFog will apply a color based gradient fog effect. It has the following settings available.
- Gradient Fog Color - This is an array of FColors that will be used for the gradient fog.
- Gradient Fog Distance - This will control the distance at which the gradient fog is rendered in relation to the camera. Default of 0 will start the fog (color index 0) at the camera location.
- Gradient Fog Sharpness - This will control the sharpness of the gradient. The higher the value the sharper the gradient (the closer the colors will be to each other).
- Hue Panner
Adding the tag Gonzo.Effects.HuePanner will apply an animated hue panner (color shift) effect. It has the following settings available.
- Hue Panner Phase - This value controls the A input of the lerp that is used to drive the hue shift, basically the starting point. Changing this value will really have no visual impact, and will probably not be exposed in a future update.
- Hue Panner Speed - This value controls the the rate at which the glitch effect will play. The higher the value the faster the effect will play.
- Invert
Adding the tag Gonzo.Effects.Invert will invert the colors of the image on screen. It only has Advanced Effects for additional settings.
- Iridescent
Adding the tag Gonzo.Effects.Iridescent will apply an iridescence like effect. It has the following settings available.
- Iridescence - This value controls the scale of the iridescent effect.
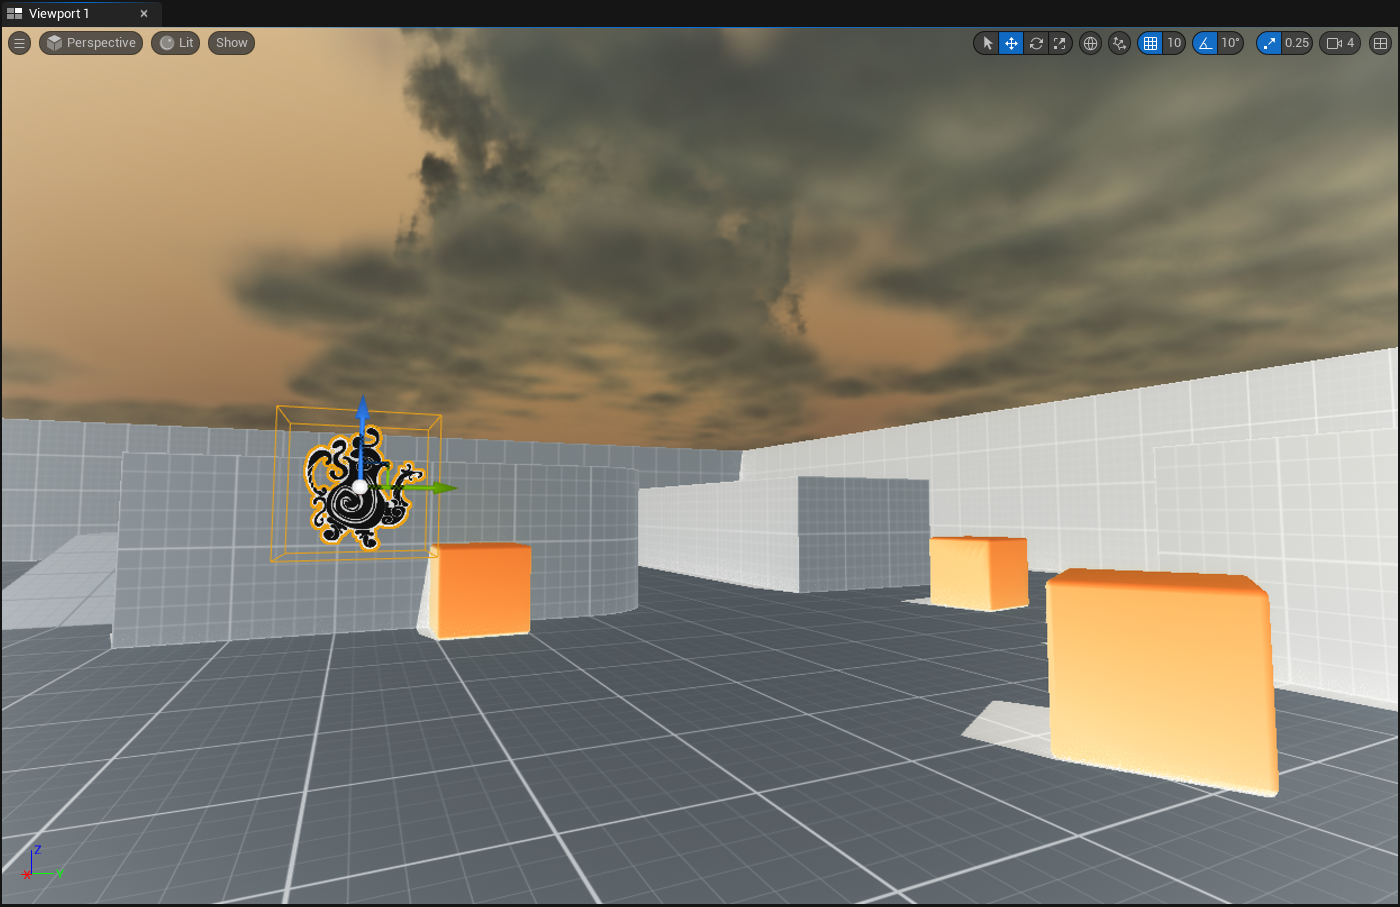
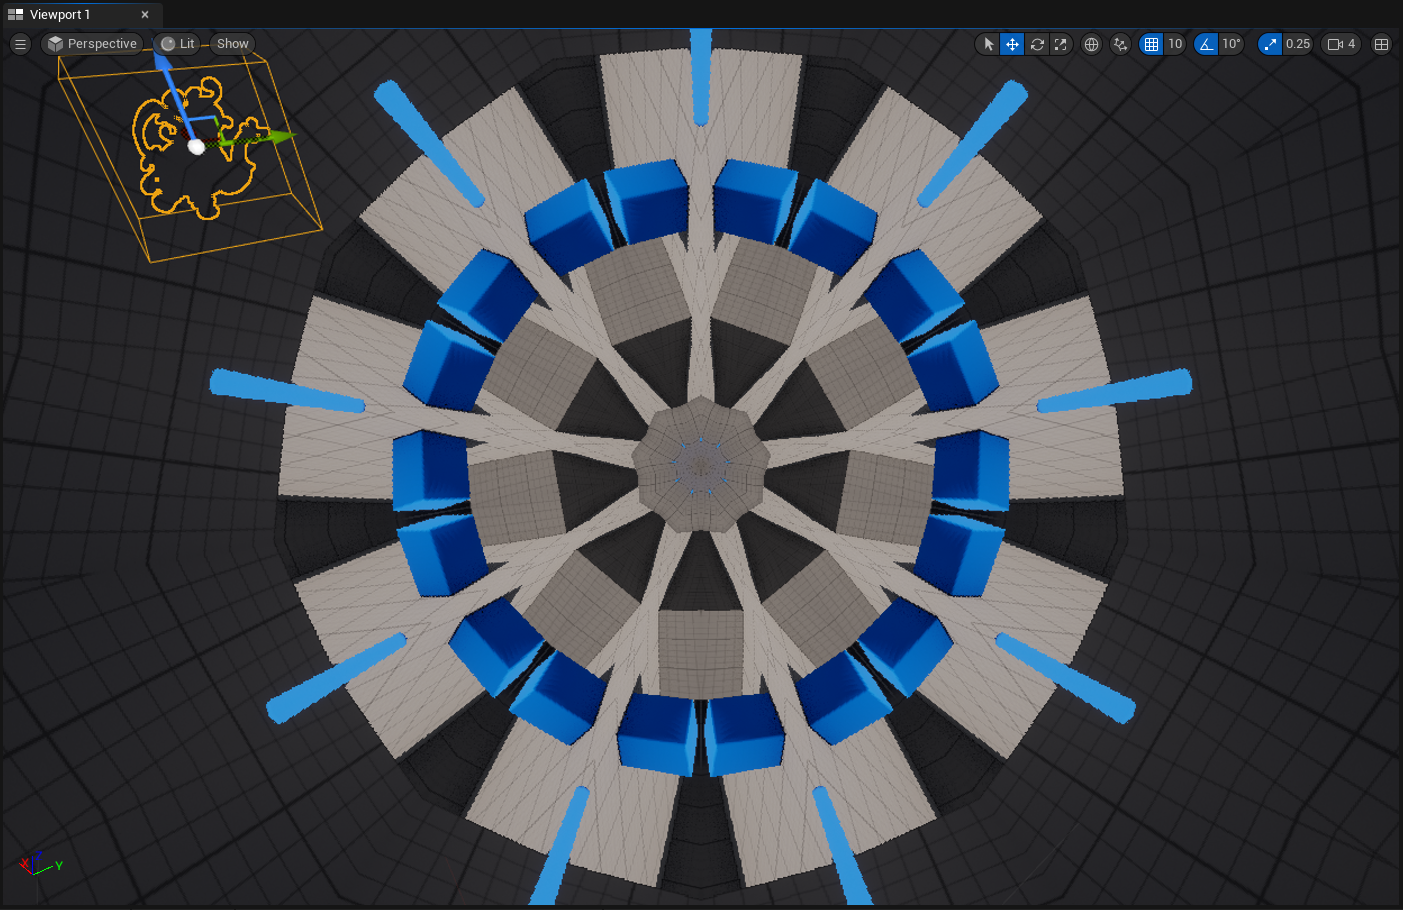
- Kaleidoscope
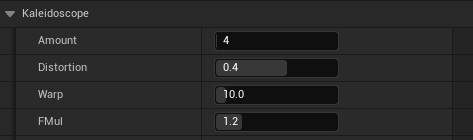
Adding the tag Gonzo.Effects.Kaleidoscope will split the screen in segments and arrange them in a kaleidoscope like effect. It has the following settings available.
- Amount - This value controls how many segments there are in the kaleidoscope effect.
- Distortion - This value controls how distorted the effect will be. The higher the value the more lens like the effect will be.
- Warp - This value controls warped each segment will be.
- FMul - This value controls the float multiply used in the material for this effect. The higher the value the further from the camera the effect will be.
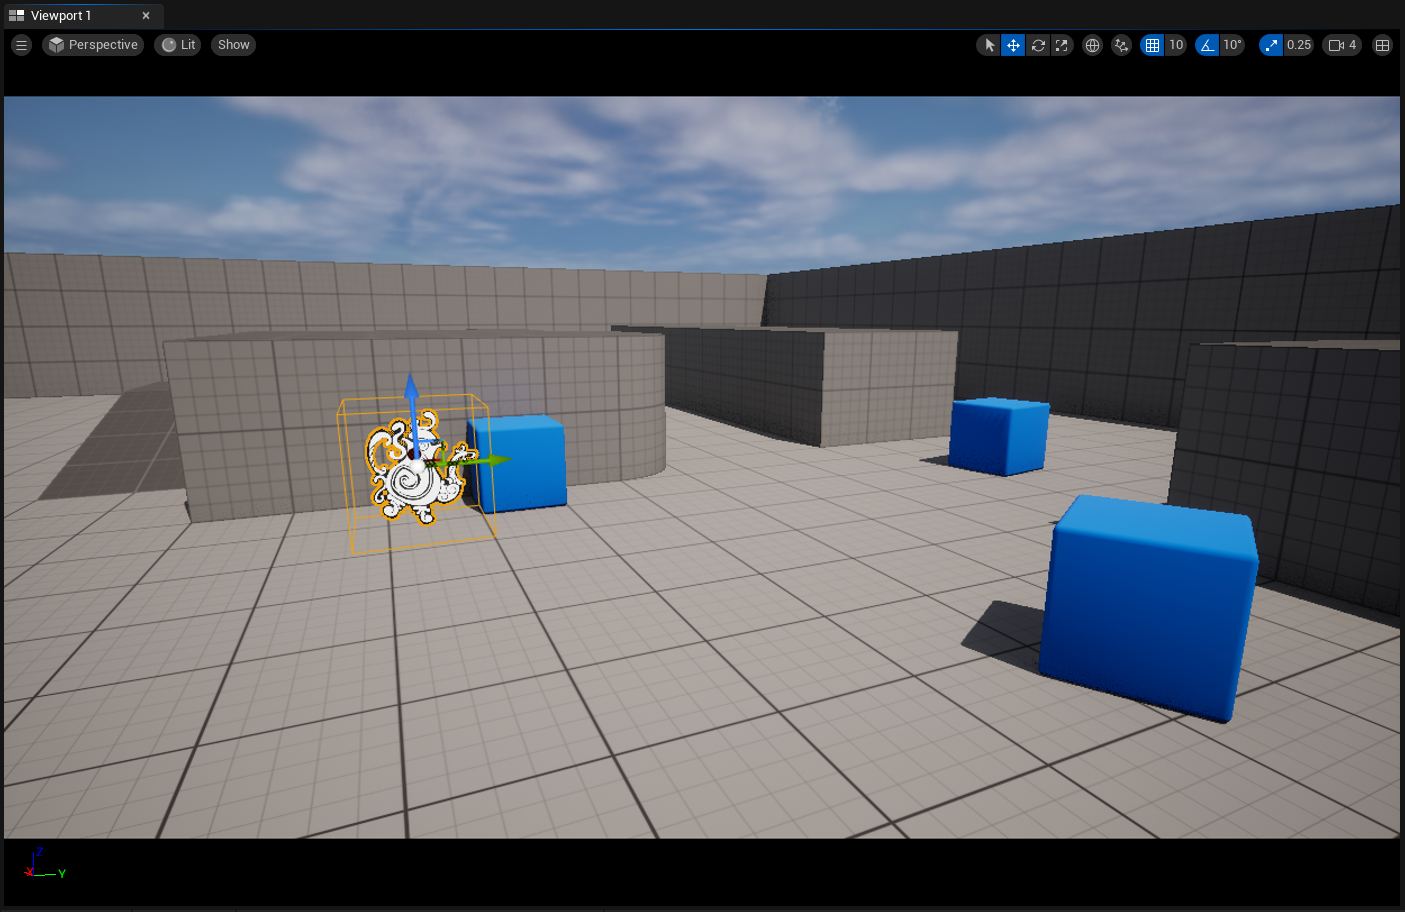
- Letterbox
Adding the tag Gonzo.Effects.Letterbox will add a letter box effect for a more cinematic look. It has the following settings available.
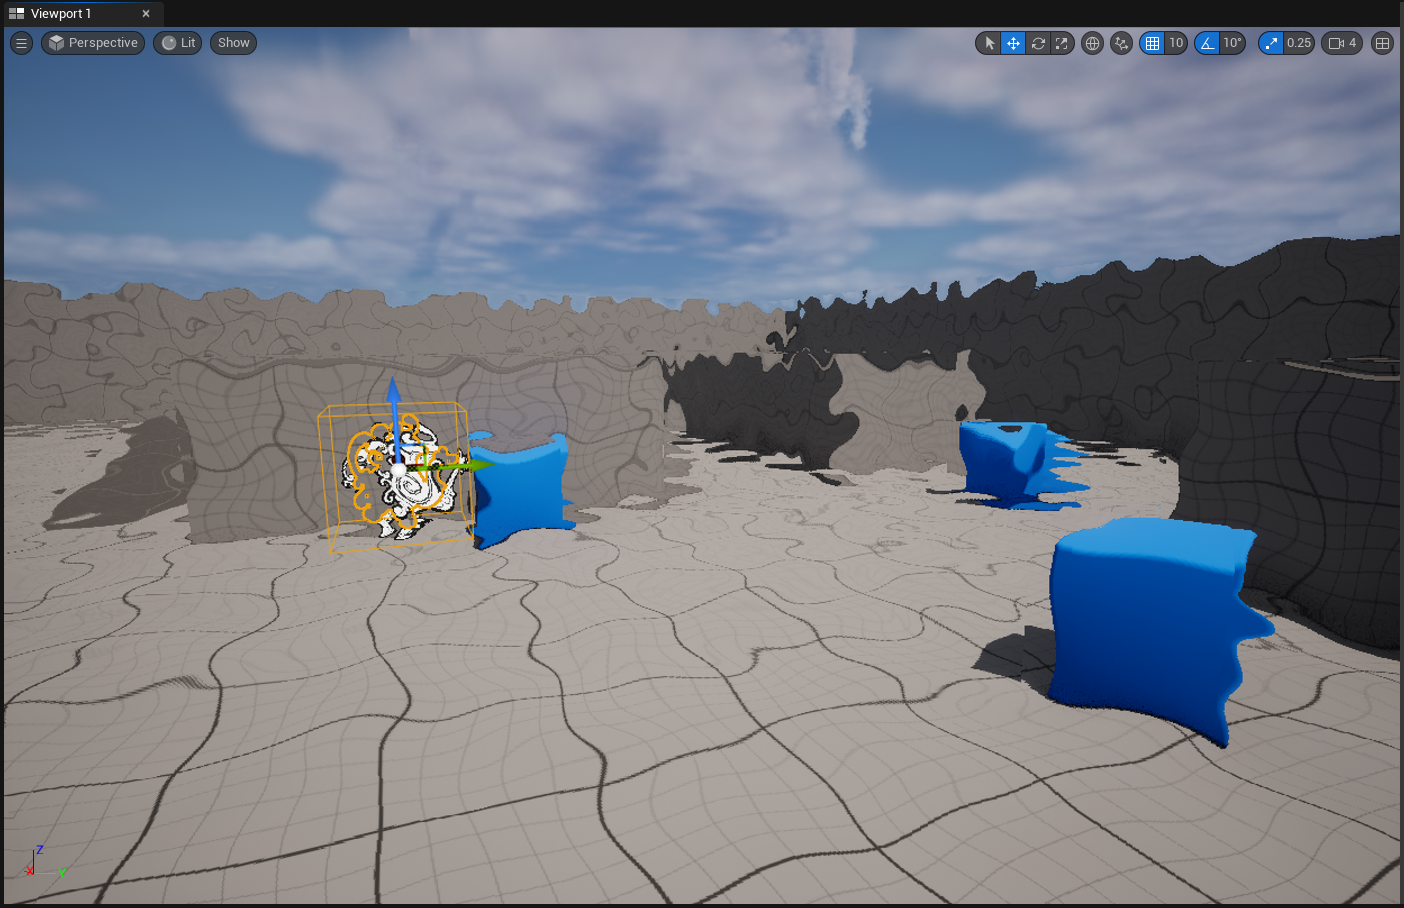
- Letterbox Texture - This is the texture that will be used for the borders of the letterbox effect.
- Letterbox Size - This value controls the size of the borders of the letterbox effect.The larger the value the larger the border.
- Horizontal - This value controls if the letterbox effect is displayed horizontally.
- Vertical - This value controls if the letterbox effect is displayed vertically.
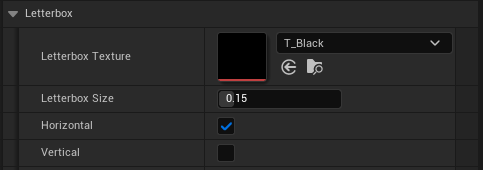
- Liquify
Adding the tag Gonzo.Effects.Liquify will add a liquify “filter” to give the world a melted look. It has the following settings available.
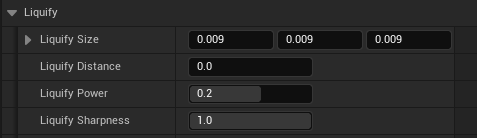
- Liquify Size - This will control the size of the liquify effect in the x,y,and z directions. The higher the value the tighter the waves will be.
- Liquify Distance - This will control the size of the liquify effect in the x,y,and z directions. The higher the value the tighter the waves will be.
- Liquify Power - This value controls the strength of the liquify effect . The higher the value the image will have a more melted effect.
- Liquify Sharpness - This value controls the sharpness of the liquify effect. The lower the value the less intense the effect will be.
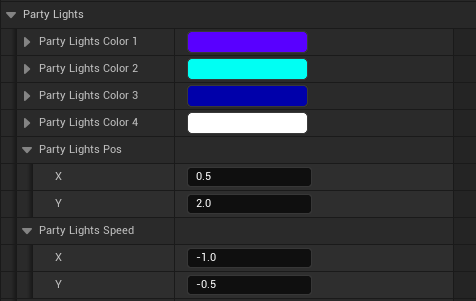
- Party Lights
Adding the tag Gonzo.Effects.PartyLights will add an animated set of colored lights. It has the following settings available.
- Party Lights Color 1 - This is one of the colors used for the Party Lights effect.
- Party Lights Color 2 - This is one of the colors used for the Party Lights effect.
- Party Lights Color 3 - This is one of the colors used for the Party Lights effect.
- Party Lights Color 4 - This is one of the colors used for the Party Lights effect.
- Party Lights Pos - This controls the position of the grid used for the Party Lights effect.
- Party Lights Speed - This controls the size of the grid used for the Party Lights effect. The higher the value the faster the lights will pan in that direction.
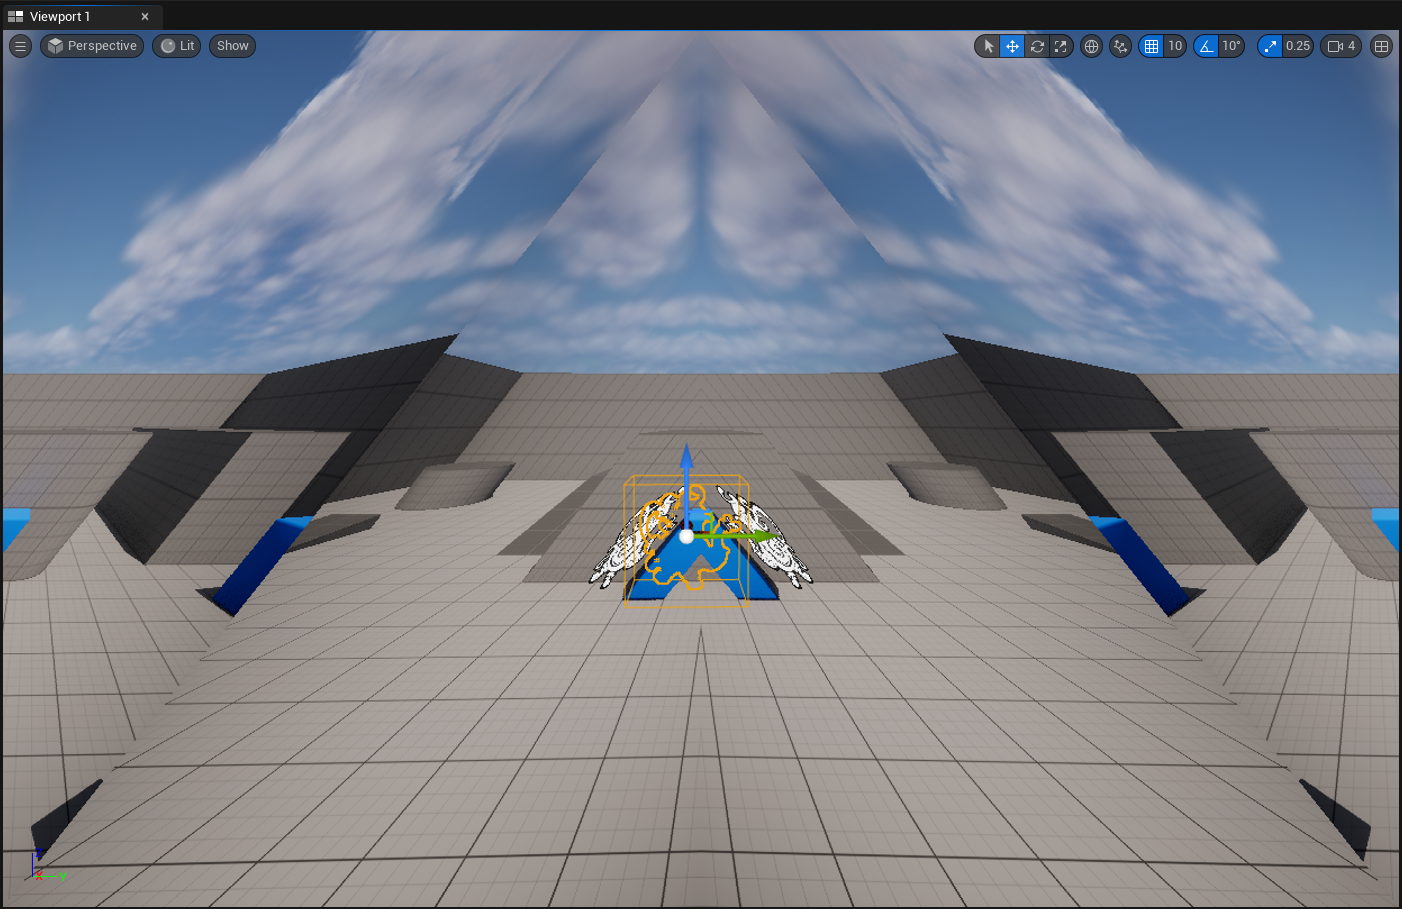
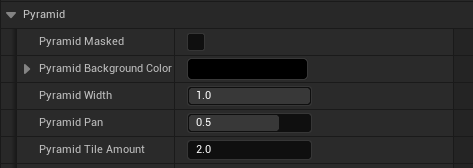
- Pyramid
Adding the tag Gonzo.Effects.Pyramid will give the image a mirrored pyramid like effect. It has the following settings available.
- Pyramid Masked - This will control if the borders of the image are masked or not.
- Pyramid Background Color - This is the color that is used if Pyramid Masked is enabled (checked).
- Pyramid Width - This value will control how wide, as well as tall, the central pyramid is.
- Pyramid Tile Amount - This value will control how many pyramid tiles will be rendered. If Pyramid Masked is enabled (checked), this will make the pyramid narrower.
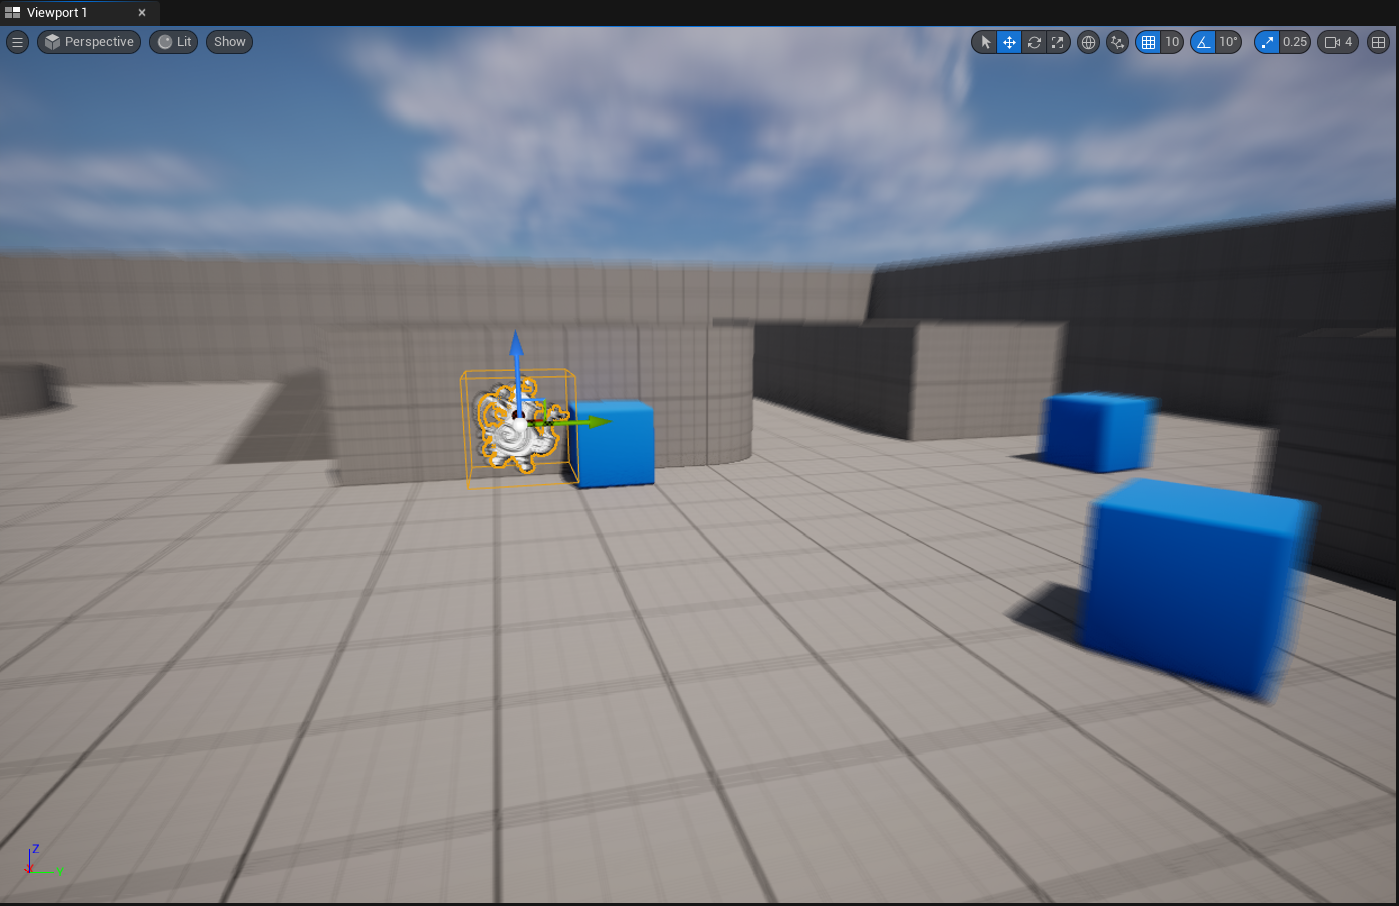
- Radial Blur
Adding the tag Gonzo.Effects.RadialBlur will apply a Radial Blur effect. It has the following settings available.
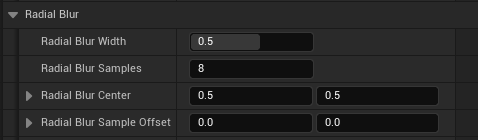
- Radial Blur Width - This value controls the distance between samples. The higher the value the larger the distance between samples. Negative values will invert the Radial Blur.
- Radial Blur Samples - This will control how many samples are applied to the Radial Blur effect. The higher the value, the blurrier the image will be.
- Radial Blur Center - This will control the position (x,y) where the Radial Blur’s center is to control the direction of the blur.
- Radial Blur Sample Offset - This will control offsetting each sample’s location (x,y) giving further control to distort the image.
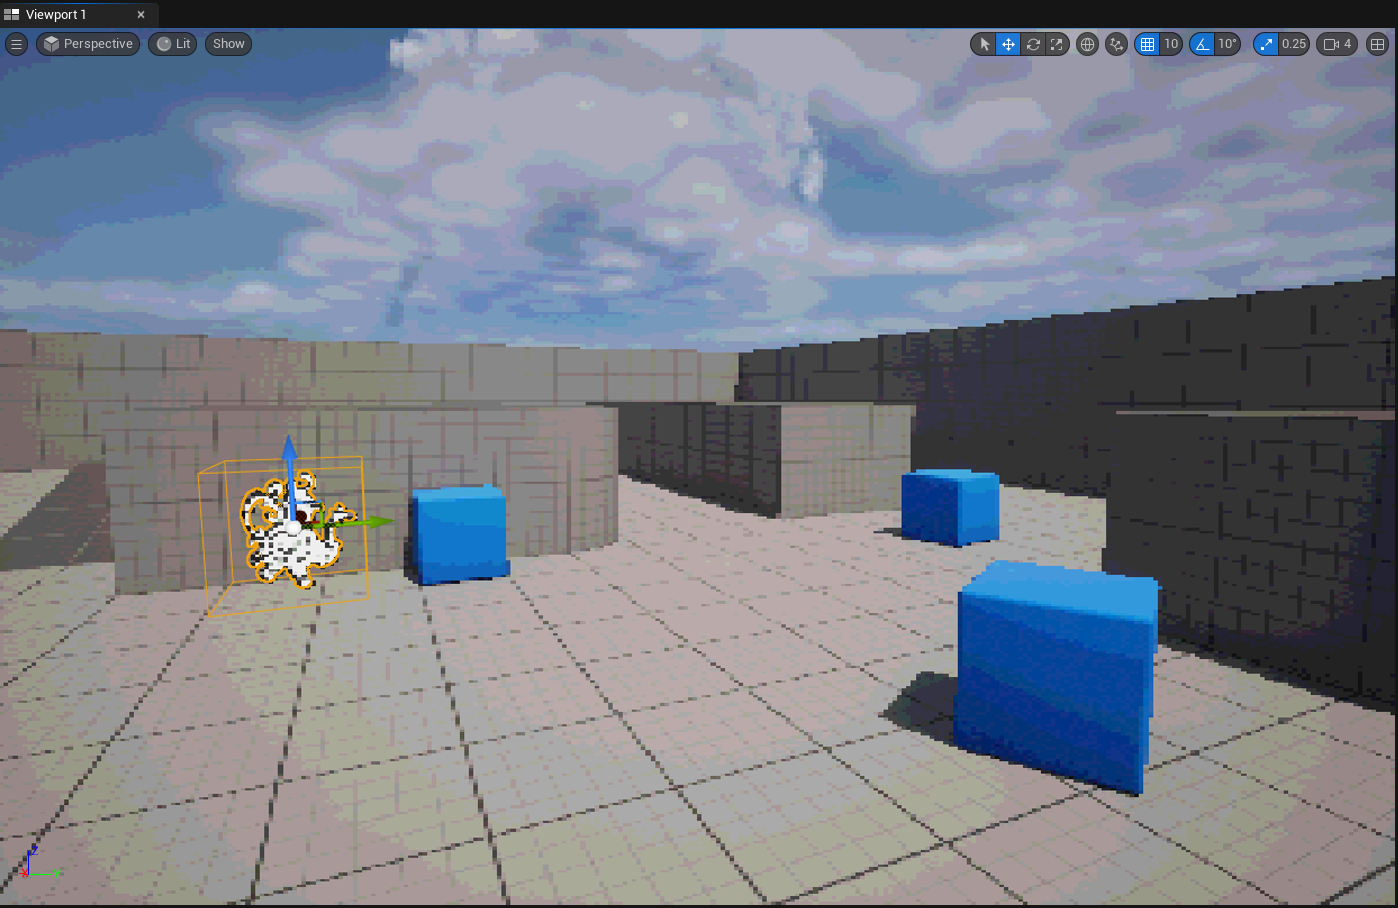
- Retro
Adding the tag Gonzo.Effects.Retro will apply a 32-bit style effect. It has the following settings available.
- Retro Scale - This value controls the scale of the Retro effect. The smaller the value the more pixelated the image will look (larger pixels).
- Retro Multiply - This value controls the multiplication in the material related to the dithering in the Retro effect.The higher the value the smoother the dithering will be.
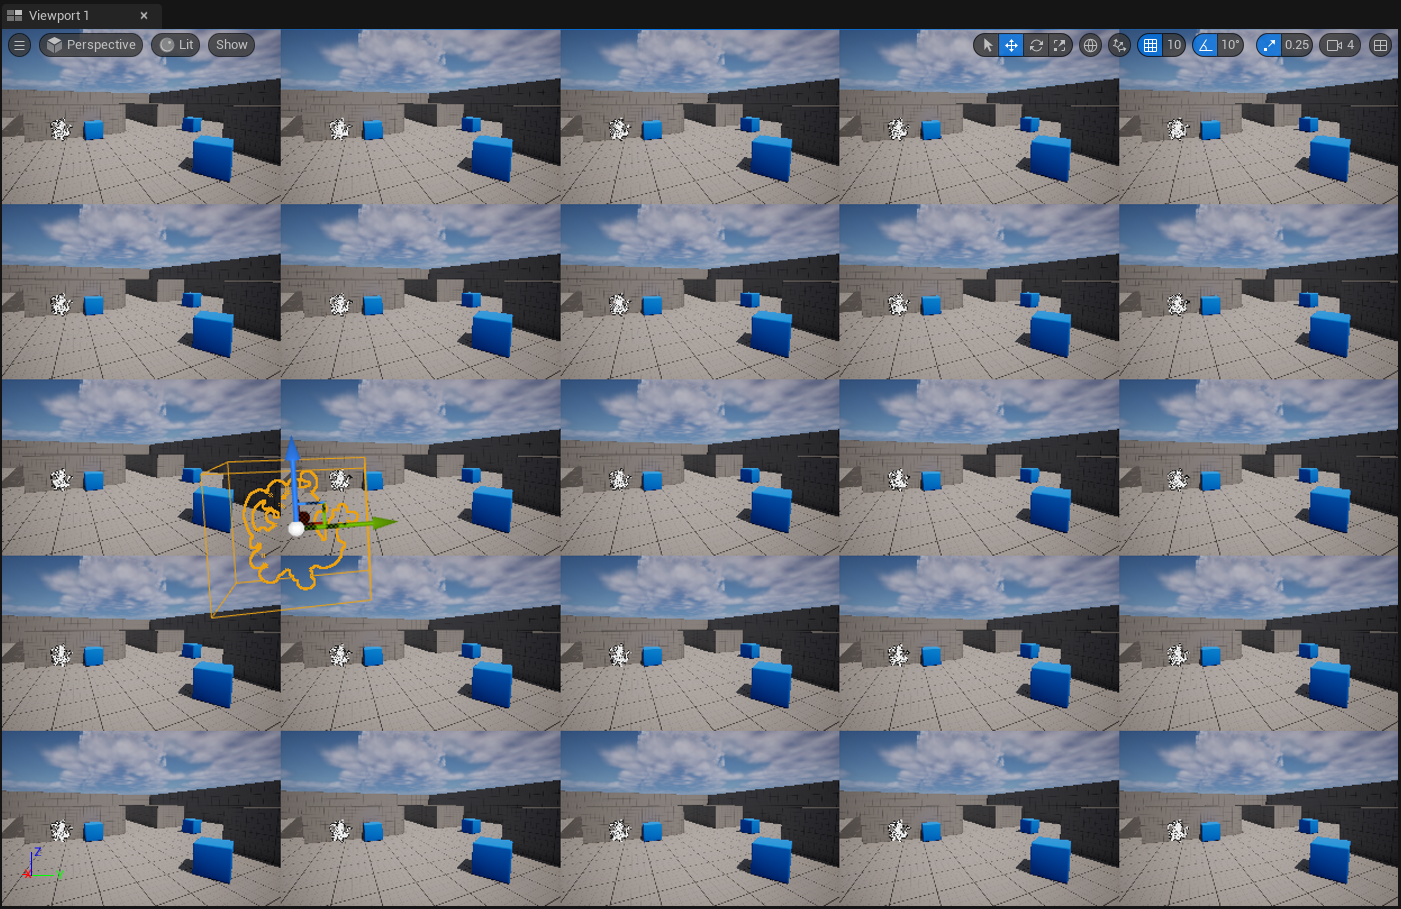
- Tiles
Adding the tag Gonzo.Effects.Tiles will split the screen image into a set number of tiles. It has the following settings available.
- Tiles Centered - This controls if the Tiles effect is centered to the screen.
- Tiles Count - This value controls the number of tiles displayed per row.
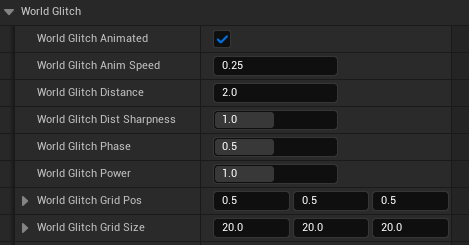
- World Glitch
Adding the tag Gonzo.Effects.WorldGlitch will apply a glitchy effect to all of the objects in the world. It has the following settings available.
- World Glitch Animated - This controls if the World Glitch effect is animated or static.
- World Glitch Anim Speed - This value controls the rate the animation is played. The higher the value the faster the animation plays.
- World Glitch Distance - This value controls how far out the effect is from the screen. The higher the value the further the effect will be.
- World Glitch Distance Sharpness - This value controls the exponent in logic in the material related to the distance.
- World Glitch Phase - This value controls which phase of the animation the World Glitch is in. This will have a greater impact if using World Glitch Animated disabled (unchecked).
- World Glitch Power - This value controls the strength of the World Glitch effect. The higher the value the stronger the effect.
- World Glitch Grid Pos - This controls the position(x,y,z) of the grid used in the material for the World Glitch effect.
- World Glitch Grid Size - This controls the size(x,y,z) of the grid used in the material for the World Glitch effect.